 Add Row
  Add
Add 


Ever wondered why your fence stain doesn’t last as long as you’d hoped or fails to deliver those rich, beautiful colors? You might be making a simple but common mistake—cleaning your wooden fence improperly before staining. Proper fence preparation turns an average weekend project into a long-lasting, professional result. Dive into this guide to unlock the secrets on how to clean a fence before staining and transform your curb appeal for years to come!
Are You Making This Common Mistake When Learning How to Clean a Fence Before Staining?
Many homeowners rush through their fence staining projects, not realizing that skipping or hastily cleaning the wood fence is the leading cause of faded, blotchy, or short-lived stains. Whether you’re tackling an old wooden fence or working with treated wood, failing to remove dirt, grime, and mildew means your fence stain simply won’t adhere properly. This can leave your hard work vulnerable to the elements—including UV damage and moisture—causing premature peeling or fading.
Another frequent error is using too much pressure while using a power washer or pressure washer, which can damage delicate wood fibers. Overlooking crucial steps in cleaning not only decreases your fence’s appearance but also jeopardizes the effectiveness of your fence stain. Understanding the correct cleaning process is the key to showcasing rich, vibrant stain colors and securing protection for the long term on your wood fence.

Understanding Why Proper Cleaning Is Vital for Wooden Fence Staining
Proper cleaning isn’t just a preliminary step; it’s the groundwork for exceptional fence staining results. Dirt, old stains, mold, and algae inhibit the ability of a new stain to penetrate and adhere to the wood. If your wooden fence remains dirty or damp before applying a stain, you risk trapping contaminants underneath, which can cause accelerated aging, moisture retention, and even rot. Clean, dry wood ensures that every layer of fence stain bonds fully and evenly.
Skipping this vital step exposes your investment to rapid UV damage and discoloration. A well-cleaned wood fence acts as a blank canvas, sustaining the beauty of your chosen stain color and lengthening the period before any re-staining is necessary. Whether using an oil-based stain or water-based stain, the science is clear—remove the obstacles first, and your fence will reward you with years of curb appeal and protection.
Overview: How to Clean a Fence Before Staining—A Step-by-Step Guide
Cleaning a wooden fence before staining isn’t complicated—but doing it right is essential. This step-by-step checklist provides a practical blueprint so you can achieve professional results without frustration:
- Step 1: Inspect the wood fence for damage or mold
- Step 2: Remove surface debris and old stain
- Step 3: Choose your cleaning solution
- Step 4: Pressure wash or hand clean your fence
- Step 5: Allow thorough drying
- Step 6: Inspect and sand rough spots
- Step 7: Fence staining preparation tips
With each phase, you’ll uncover how to care for your unique fence—whether aged, newly installed, cedar, pine, or treated wood—so the final fence stain shines through, making for a durable, professional finish every time. For hands-on tips and techniques, don’t miss our dedicated sections on both power washing and manual cleaning methods for your wooden fence.
What You’ll Learn in This Guide to Cleaning a Fence Before Staining
- The best ways to clean a wooden fence
- How to use a pressure washer for fence cleaning
- Choosing cleaners for wood fences
- What to avoid for perfect results
- How fence staining is improved by proper cleaning
By the end of this comprehensive article, you’ll know not just how to clean a fence before staining , but also which cleaning solution is best, which techniques make a difference, and what steps to never skip if you want a fence stain that lasts a long time and maintains stunning curb appeal.
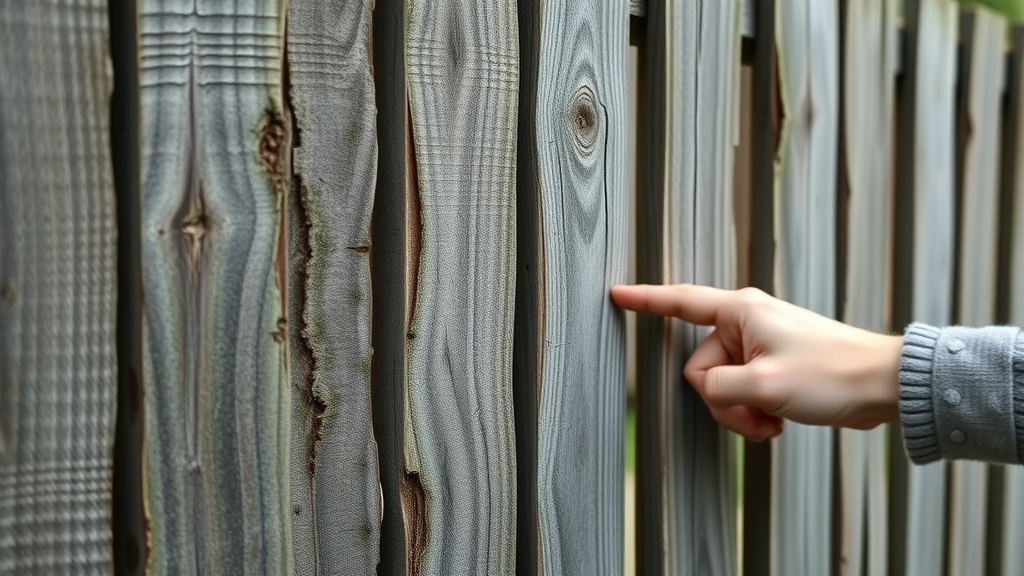
Assessing Your Wooden Fence: Key Steps Before Cleaning
Every effective fence cleaning process starts with an inspection. Look for critical issues such as rot, warped boards, loose nails, or even surface mold. Addressing these early ensures a uniform result once you apply stain. A careful inspection also prevents accidents or injuries caused by weakened boards during pressure washing or scrubbing.
Before any water or cleaning solution touches your wood fence, repair or replace any compromised sections. Tighten loose boards, remove protruding nails, and trim nearby vegetation. Safety checks on your wood fence materials—such as verifying the structural integrity of older or treated wood—are especially important when using power washers to prevent damage and potential injury during fence cleaning.
- What to look for (rot, warping, loose boards)
- How to prepare your fence before using a pressure wash
- Safety checks for wood fence materials
Should You Clean a Fence Before Staining?
Absolutely—cleaning a fence before staining is a step you cannot afford to overlook. Skipping this step means the fence stain may adhere to the dirt, mildew, or residual cleaning agents instead of the wood itself, leading to a short-lived finish. Dirt and mold can also seep back through the new stain, defeating the entire purpose of refinishing your fence.
Whether you just installed new wood fences or are dealing with an aged, weathered wooden fence, washing your fence first eliminates hidden contaminants and creates ideal conditions for a lasting stain job. Think of cleaning as both a protective measure against UV damage and moisture penetration, and an essential primer for even, vibrant color. A thoroughly cleaned fence is, without a doubt, the foundation for a successful fence staining project.
How Do You Prep a Fence for Stain?
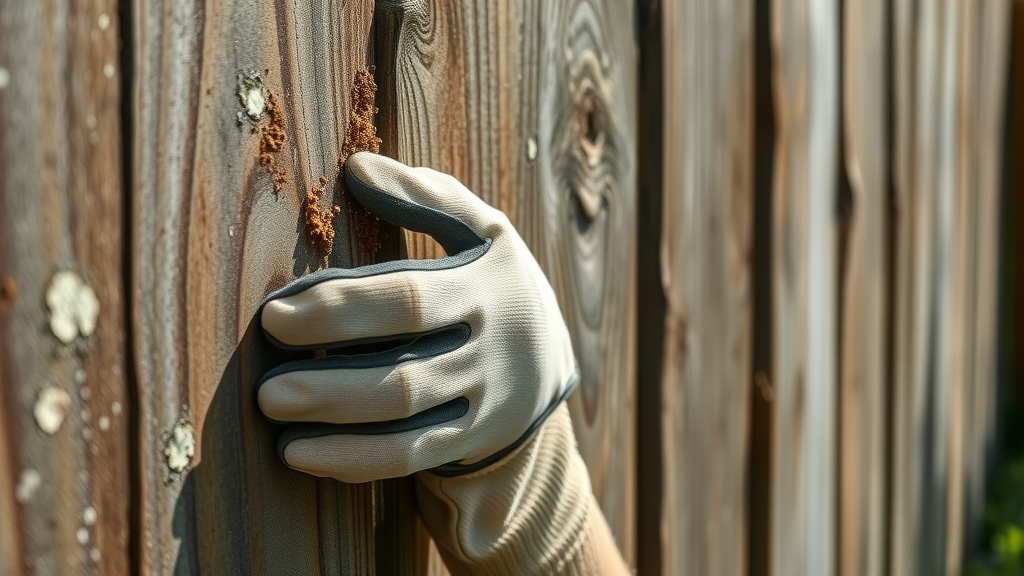
Preparation begins by removing debris, dirt, and cobwebs from every section of your wood fence. Next, use a scrub brush or gentle power washer to clean off any algae, mold, or old stain remnants. For fences with stubborn spots, a dedicated cleaning solution or diluted bleach may be required—but always check the compatibility with your fence material before use to avoid unnecessary wood damage.
- Remove all debris, dirt, and grime
- Assess if pressure washing is appropriate
- Allow enough drying time for the wood fence
After cleaning, let the fence dry for at least 24-48 hours (depending on weather and humidity). Finally, inspect the wood for raised grain or splinters, sanding any rough spots, so your stain goes on perfectly smooth. These preparation steps will help maximize the effectiveness of any oil-based stain or water-based stain you choose to apply.
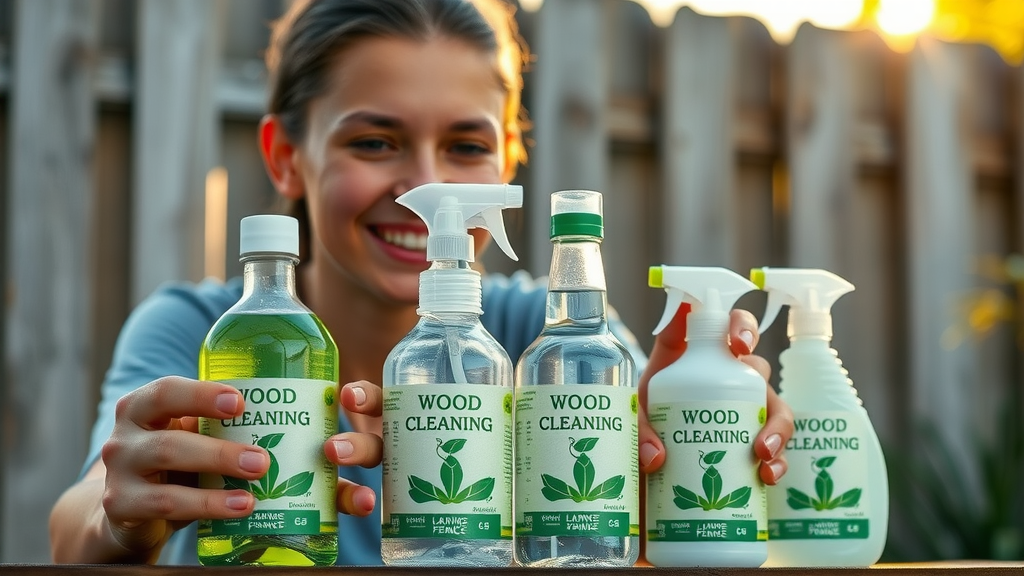
Best Cleaning Solutions for Wood Fence and Wooden Fence Before Staining
Choosing the correct cleaning solution for your wood fence depends on the severity and type of stains or contaminants present. For most wooden fences, an oxygenated bleach solution is highly effective, targeting organic stains without damaging the wood fibers. For fences plagued by mold or mildew, a simple vinegar and water mixture works wonders and is eco-friendly. Commercial wood fence cleaners offer a convenient, ready-made approach with balanced pH levels and surfactants designed for safe wood cleaning.
- Oxygenated bleach solution
- Vinegar and water for mold
- Commercial wood fence cleaners
Always follow manufacturer instructions, test in an inconspicuous area, and rinse thoroughly to ensure no residue interferes with the fence staining results. The correct cleaning solution will effectively remove dirt and old stains, while also preparing the wooden fence for the best possible adhesion and longevity of your chosen fence stain.
Comparison of Common Cleaning Agents for Wooden Fence Preparation
| Solution | Effectiveness | Application | Pros | Cons |
|---|---|---|---|---|
| Oxygenated Bleach | High for organic stains and mildew | Mix with water, apply with brush/sprayer | Eco-friendly, deep cleans wood, non-toxic | Must rinse thoroughly, more expensive |
| Vinegar & Water | Moderate, best for light mold/algae | Spray and scrub | Natural, safe for plants and pets | Less effective for old or heavy stains |
| Commercial Wood Cleaner | High, specially formulated | Follow label directions | Quick and effective, ready to use | Some contain harsh chemicals |
| Regular Household Bleach | Removes stubborn mold | Mix with water, rinse well | Powerful cleaning action | Can discolor wood, harm plants |
How to Use a Pressure Washer to Clean a Fence Before Staining
A pressure washer is a time-saving tool for fence cleaning, but it’s crucial to use it correctly to avoid damaging wood fibers. Begin by selecting the right pressure washer—an electric model with adjustable PSI is ideal for most wood fences. Opt for a PSI level between 500 and 2000, using a 25- or 40-degree nozzle to disperse the force evenly. This helps prevent gouging the wood or undermining the fence’s structural integrity.
- Selecting the right pressure washer
- Best PSI and nozzle for wood fence
- Technique for even cleaning without causing damage
Maintain a distance of 12–18 inches from the wood and move in steady, sweeping motions. Work in sections and rinse thoroughly with water. Avoid focusing the spray too long on one spot to deter etching or raised grain. Proper technique with a pressure washer leaves your wood fence refreshed and perfectly primed for fence staining.

"A meticulously cleaned wooden fence is the foundation of a beautiful, durable, and professionally finished fence stain application."
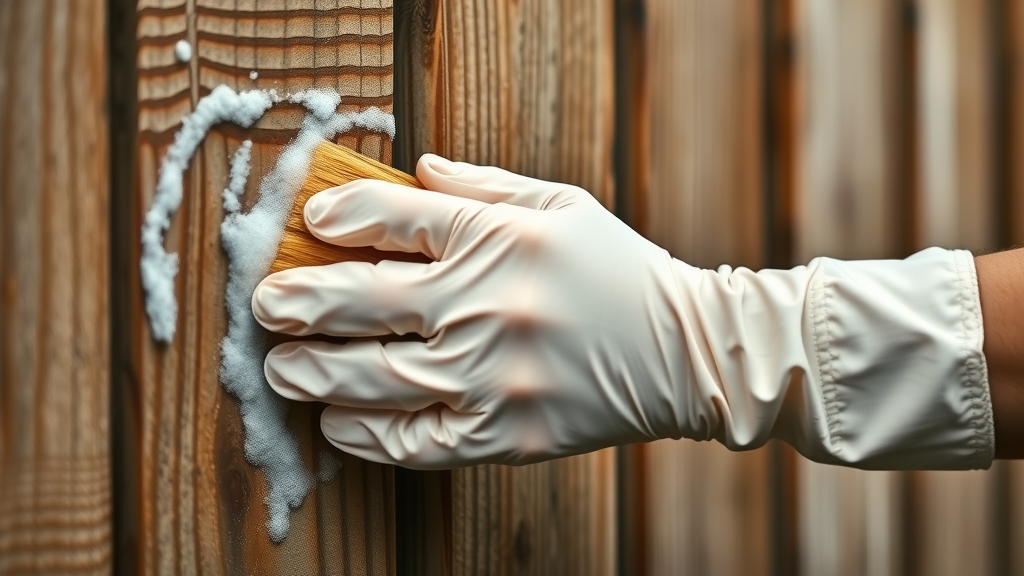
Manual Cleaning: Fence Before Staining Without a Pressure Washer
If your wooden fence is old, brittle, or has delicate wood fibers, manual cleaning is your safest option. Pressure washing can sometimes cause unnecessary damage, especially to aged or untreated wood fences. Instead, choose a stiff-bristled scrub brush and a suitable cleaning solution, such as diluted oxygen bleach or vinegar. Scrubbing by hand may take more time, but it gives you greater control for precision cleaning and minimizes splash damage to plants or landscaping.
- When to avoid pressure washing
- Best hand scrubbing tools
- How to remove stubborn stains safely
To tackle tough spots or old stains, let your chosen cleaner soak into the affected areas before scrubbing vigorously. Always rinse liberally and allow the fence to dry. Manual cleaning ensures even the most weathered fence is ready for a flawless stain application—especially important when prepping for an oil-based stain or water-based stain.
Drying Time: How Long to Wait Before Applying Fence Stain
- Minimum drying time after cleaning: Plan to wait at least 24–48 hours after washing your fence before applying any fence stain. Damp or humid weather may require extra time for adequate drying.
- Why moisture levels matter for fence staining: Moisture locked inside the wooden fence can prevent the stain from adhering or soaking in properly. This results in a blotchy appearance and reduced stain lifespan.
- Testing and confirming readiness for apply stain: To ensure your fence is ready, press a dry cloth against various spots of the fence. If it comes away damp, wait longer. For precision, a moisture meter reading below 15% is ideal before you apply stain.
Giving your wood fence ample drying time is crucial for a truly professional, even fence staining result. Rushing this process is a common pitfall that can undo all your cleaning efforts.
Final Checks: Preparing Your Wood Fence for Stain Application
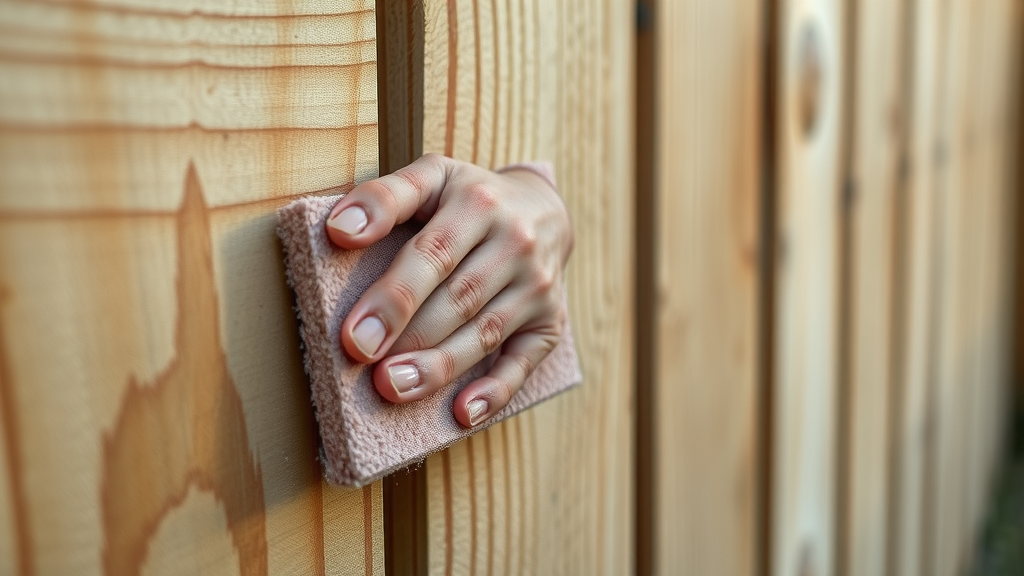
Before you start the staining process, double-check for residual dirt or cleaning agents—especially in corners and between boards. These residues can interfere with your fence stain and leave unsightly marks. Inspect the wood for raised grain or rough patches; if necessary, lightly sand the entire surface with fine-grit sandpaper to create a smooth, consistent texture that allows the stain to adhere evenly.
- Inspect for residual dirt or cleaner
- Look for raised wood grain
- Light sanding for a smooth surface
This extra attention to detail is the final step in fence preparation and ensures you achieve the flawless, professional appearance you want from your fence staining project.
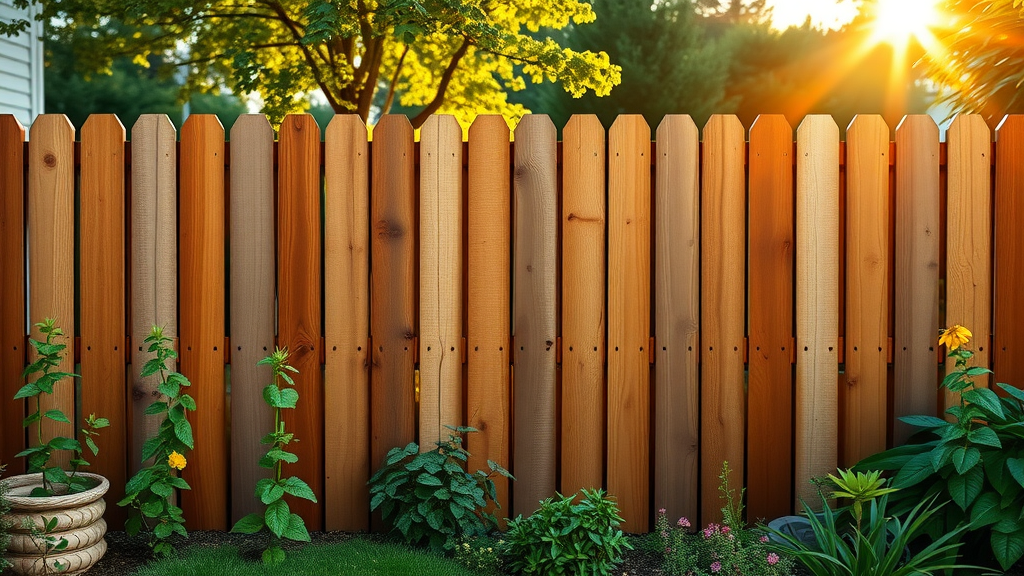
Fence Stain Selection: How Clean Wood Fence Impacts Color & Longevity
A clean wooden fence allows for vibrant, true colors and maximizes the longevity of your chosen fence stain. Residual dirt or dull spots can darken or mute your stain, making the result appear uneven or faded from the start. Only a spotless wood surface reveals the rich tones of oil-based stains or the natural shades of water-based options.
Moreover, professional cleaning extends the life of your fence stain by preventing premature peeling, chipping, or dulling that can occur when staining over dusty or contaminated wood. Good cleaning also means fewer maintenance cycles and a longer-lasting finish, protecting your investment from sun, rain, and daily wear.
Video Tutorial: Step-by-Step How to Clean a Fence Before Staining
Watch this in-depth tutorial showing the entire fence cleaning process—from pressure washing to manual cleaning—followed by preparation and staining tips. Clearly see the transformation on a real wooden fence, along with expert techniques and safety tips for the best outcome.
Video Walkthrough: Pressure Wash A Wooden Fence for Stunning Fence Stain Results
Discover best practices for pressure washing your wooden fence in our dedicated walkthrough. Learn the right PSI settings, nozzles, and motion techniques that ensure a gentle yet thorough clean—perfect for prepping your fence before staining for a flawless and lasting finish.
Common Pitfalls to Avoid When Cleaning a Fence Before Staining
- Using too much pressure: Damages wood fibers and can cause splintering or gouging—especially on older wood fences.
- Skipping drying time: Traps moisture inside the wood, resulting in uneven stain application and possible wood rot.
- Applying stain over improper cleaning residue: Leads to blotchy or patchy finish, shortens the longevity of your fence stain, and wastes your investment.
Avoid these mistakes, and your fence will look professionally finished for a long time.
What is the Best Thing to Clean Wood With Before Staining?
The top pick for most situations is an oxygenated bleach solution . It removes dirt, algae, and most organic buildup without causing UV damage or discoloring your wooden fence. It’s safe for treated wood, cedar, and pine—just remember to rinse thoroughly and let it dry completely before applying your stain. For lighter jobs, vinegar and water can also be a good idea, while commercial fence cleaners are best when in doubt.
What is the Best Thing to Clean a Wooden Fence?
The best cleaner ultimately depends on your fence’s age, type, and the kind of grime present. For severe mold or mildew, a diluted bleach solution can be effective, but caution is needed to protect plants and avoid discoloration. Eco-friendly, oxygenated bleach solutions are safe for most wood fences, while commercial wood fence cleaners provide a one-and-done option for busy homeowners. Always follow with a thorough rinse and proper drying for optimal results before fence staining.
Frequently Asked Questions About How to Clean a Fence Before Staining
- How often should I clean my fence before re-staining? Generally, clean your fence before each new stain—ideally every 2–3 years, or whenever you notice fading or heavy soiling.
- Can I use household bleach? Yes, but only diluted and with caution. Rinse well to prevent wood or plant damage. Opt for oxygenated bleach solutions when possible.
- Is sanding necessary after cleaning? Sanding isn’t always required, but a light once-over after drying can help smooth raised wood grain, especially on older fences.
- Do I need to remove old paint/stain completely? While total removal isn’t always needed, remove loose, flaking, or patchy areas so your new stain can soak in evenly and last a long time.
Expert Recommendations for Lasting Fence Staining Results
- Always start with a clean, dry wood fence
- Test a small area before applying stain to the full fence
- Re-stain regularly to keep your wooden fence protected
These expert tips ensure your fence staining efforts produce professional, long-lasting results that both look great and protect against the elements.
Ready to Transform Your Fence?
Questions? Call Refreshing Pro Wash today at (541) 636-8094 . Let our experts take the hassle—and the guesswork—out of fence cleaning and staining for you!
To ensure your fence staining project yields professional and long-lasting results, it’s crucial to start with a thoroughly cleaned surface. The article “5 Easy Ways To Clean a Wood Fence” from Lowe’s provides comprehensive methods for effectively cleaning your wooden fence, including using a stiff-bristled brush, garden hose, pressure washing, commercial wood cleaners, and household products. ( lowes.com ) Additionally, “How to make your residential fence ready for staining” by A+ Window Cleaning Services LLC emphasizes the importance of soft washing—a gentle yet effective technique that removes mold, mildew, and grime without damaging the wood fibers. ( apluswcs.com ) By following these expert recommendations, you’ll create an optimal foundation for your stain, enhancing both the appearance and durability of your fence.


Write A Comment